Foam Cannon Guide: Setup, Soap Ratios, Dwell Time, and How the Two-Stage Wash Method Actually Works
A foam cannon used correctly protects your paint on every wash. Used incorrectly — wrong soap, no pre-rinse, foam left to dry in the sun — it creates more work than it saves. This guide covers the full setup procedure, the soap dilution ratios that actually produce results, and the seasonal adjustments that most foam cannon guides don’t mention.
 M
M
Why the Foam Cannon Step Matters — and What It Isn’t
The foam cannon is not a luxury add-on for enthusiasts. It is the step that separates a wash that protects the paint from a wash that slowly degrades it. Here’s the mechanism: every particle of road grit, brake dust, and pollen on your vehicle’s surface is an abrasive. Rinsing directly over a dirty surface — even with a wide-angle nozzle — drags those particles across the clear coat. Over dozens of washes, that accumulates into swirl marks and micro-scratches that become visible in direct light.
Foam pre-soak changes the physics. The surfactant in the foam encapsulates and suspends dirt particles — it lifts them away from the paint surface and holds them in the foam blanket. When you rinse, the foam carries the grime away in the water rather than dragging it across the surface. The rinse pass becomes a clean rinse instead of a mechanical scrub.
What a foam cannon isn’t: a substitute for contact washing on heavily soiled vehicles. For a vehicle that hasn’t been washed in months, with caked mud in the wheel arches and road film on the lower panels, the two-stage foam method lifts the light surface contamination but the heavier grime still needs a wash mitt and contact cleaning. Foam pre-soak plus rinse handles weekly maintenance washing. Heavy cleaning requires foam pre-soak plus contact wash plus final rinse.
First-Time Setup: Filling, Adjusting, and Getting the Right Foam
The foam cannon has two adjustable variables: the foam knob controls how much air mixes into the water-soap stream (more closed = thicker, slower-dripping foam), and the fan knob controls how wide the spray pattern is. Most first-time users get thin watery spray because the foam knob is too far open — they’re getting wide coverage but the mixing chamber doesn’t have enough restriction to build foam pressure.
Fill the bottle with the correct soap and water mixture. Use pH-neutral car wash concentrate only — not dish soap, not household cleaners. Start at 1:8 ratio: fill the bottle one-eighth with soap concentrate, top up with warm water. Warm water dissolves concentrate faster and produces more consistent foam. Shake gently once to mix — vigorous shaking creates bubbles in the bottle that disrupt the siphon draw.
Thread or click the bottle onto the cannon head, then attach the cannon to your gun. Confirm the fitting type matches your gun before assembling under pressure — M22 thread on the cannon needs M22 on the gun, quick-connect needs quick-connect. Finger-tighten the bottle — do not over-torque the plastic threads.
Set the foam knob to about 75% closed as a starting position. This gives the mixing chamber enough restriction to build foam rather than just passing soap solution through. Turn the fan knob to a medium-width pattern — wide enough to cover a car panel in two or three passes, narrow enough to maintain good foam concentration.
Pull the trigger and check the foam before applying to the car. Aim at the ground or a wall for the first few seconds. Good foam clings to a vertical surface for at least 30 seconds before running. Watery foam runs immediately. If you’re getting thin spray: close the foam knob further, or increase soap concentration by 50% and retest.
Apply foam to the vehicle bottom to top. Start at the lower panels and sills, work upward. Foam applied top-down runs over the lower panels before they’ve been covered, reducing dwell time on the heaviest contamination areas. Bottom-to-top ensures every surface gets a full dwell period.
Dwell 4 to 5 minutes, then rinse top to bottom with wide-angle nozzle. Watch the foam — if it starts drying on the surface (visible streaking or glazing), begin rinsing that section immediately. Direct sun and temperatures above 85°F significantly reduce safe dwell time.
Soap Dilution Ratios: Starting Points and How to Adjust
The right dilution ratio depends on three variables: the soap concentrate’s own dilution instructions, your machine’s pressure output, and what you’re washing. Higher machine pressure drives more water through the mixing chamber per second, which dilutes the soap more aggressively — you need a slightly stronger mix to compensate. Lower-pressure cordless models produce thicker foam at a given ratio because less water is moving through the system.
| Application | Starting ratio (soap:water) | Notes |
|---|---|---|
| Car wash — weekly maintenance | 1:8 | Standard starting point for most pH-neutral concentrates. Adjust if foam runs quickly or doesn’t cling. |
| Car wash — heavily soiled vehicle | 1:5 | Higher concentration for more surfactant contact time on road film and brake dust buildup. |
| Cordless gun (low pressure) | 1:6 to 1:8 | Lower flow rate means less dilution in the mixing chamber — standard ratios work well. |
| Corded 1200W (higher pressure) | 1:5 to 1:7 | Higher flow rate dilutes more aggressively — use a slightly stronger mix for equivalent foam thickness. |
| Pre-soak only (before contact wash) | 1:4 | Higher concentration for maximum dwell-time lift before mitt contact. Rinse thoroughly before washing. |
| Exterior surfaces (non-paint) | Per cleaner instructions | Use a surface cleaner concentrate appropriate for the material — not automotive soap on concrete or wood. |
All ratios are starting points. Soap concentrates vary significantly in surfactant strength — always test on a small area and adjust based on foam cling time. Target: foam that holds on a vertical surface for 30+ seconds before running.
Seasonal Adjustments: What Changes and Why
Temperature affects foam cannon performance more than most users expect. Cold temperatures increase water viscosity and reduce the surfactant activity of soap — both factors produce thinner foam at the same dilution ratio. Hot temperatures reduce safe dwell time before foam begins to dry on the surface. Adjusting your technique seasonally takes less than a minute and significantly improves results.
Two Foam Cannon Options: Which One Fits Your Setup
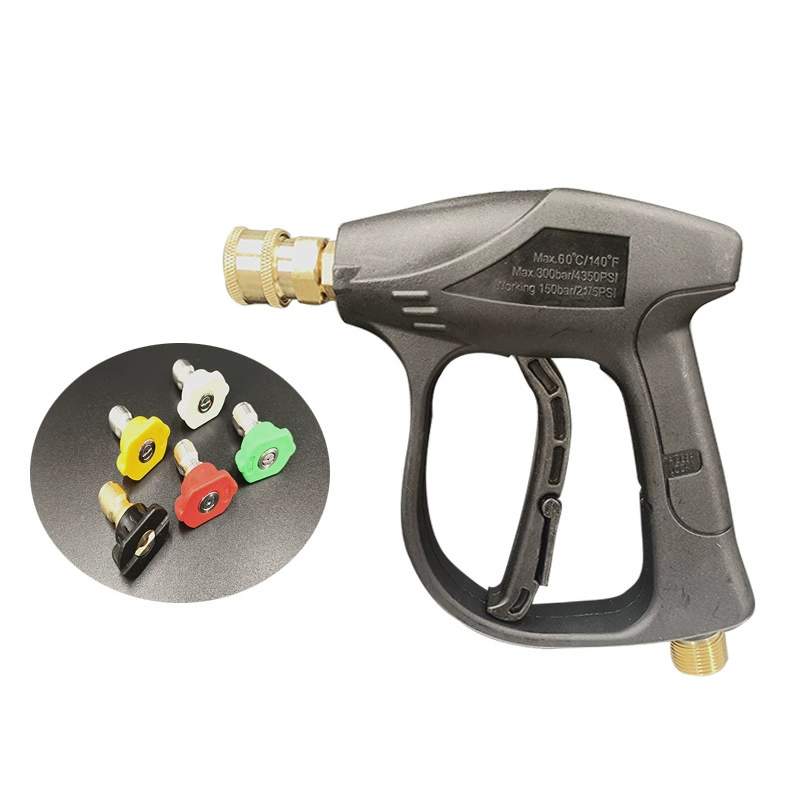
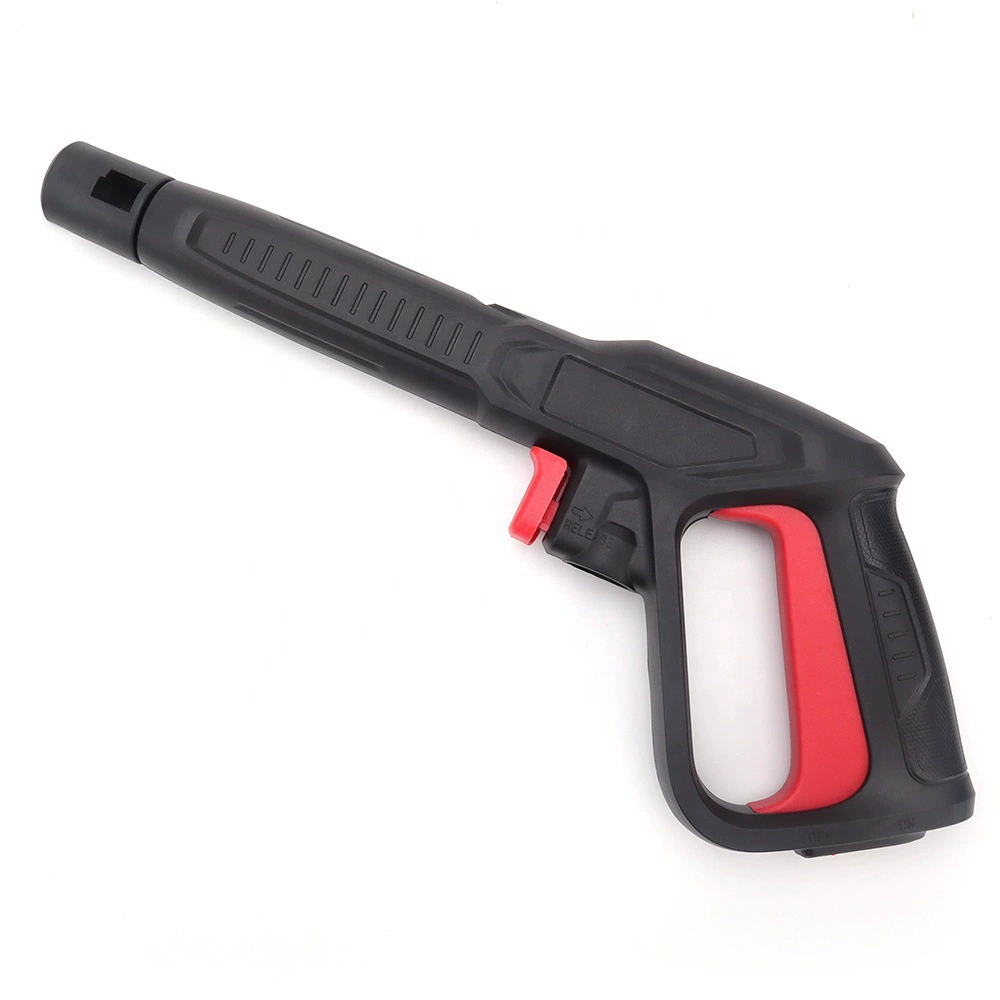
The two Spraysmith foam cannons are differentiated by bottle material and fitting configuration — not by output quality. Both produce thick foam with the right soap ratio and correct adjustment. The choice is about fitting compatibility with your gun and whether you need a full kit or just the cannon.
 M
M
I started recommending foam cannons to residential clients around 2019 — before that I’d considered them enthusiast equipment rather than practical maintenance tools. What changed my view was a specific observation: a client in Franklin had been hand-washing his wife’s black Mercedes every two weeks for three years using a hose and a wash mitt, and under direct sunlight you could see a clear halo of swirl marks around the entire car where the mitt had been dragged over surface contamination. Three years of careful washing had left visible paint damage.
I walked him through the two-stage foam method and he used it exclusively for the following year. At the next inspection in that direct sunlight, the swirl pattern had stopped progressing. No new marks. The difference wasn’t technique or effort — it was simply that the foam was lifting the abrasive particles off the surface before anything contacted the paint. For a black vehicle that shows every swirl mark, that’s not a marginal improvement. It’s the difference between a car that looks maintained and one that looks like it’s been scrubbed with sandpaper for three years.
Marcus Whitfield · Founder, Spraysmith · 12 years residential maintenance · Nashville, TN
Questions About Foam Cannons
Related Reading
- Can pressure washing your car really save time and effort?Cars · 6 min
- Never pour bleach directly into a pressure washer — here’s whySafety · 5 min
- Electric pressure washers use up to 70% less water than a garden hoseEco · 6 min
- Complete safe use guide: nozzle distances, angles, surfaces to avoidSafety · 6 min
- How to pressure wash a deck without damaging the woodSurfaces · 7 min
- How long does an electric pressure washer last? Maintenance and lifespanMaintenance · 7 min